It's Topflight Stamps 6th birthday and to celebrate, I’ve teamed up with some great designers to showcase celebratory projects using the unique products available at Topflight Stamps. Please hop along with us and see all the beautiful talent from this group of amazing designers! There is a master list of Hop stops on the Topflight Stamps blog! We are also Hopping on Instagram! You can start at the Topflight Stamps account @topflightstamps .
Monday, March 27, 2023
Monday, March 28, 2022
Topflight Stamps 5th birthday blog hop
For my first card, I smooshed water and distress inks in various pinks and oranges colors over a panel of heavystock. When the panel was dry, I die cut it using the Paper Rose Blooming Flowers Background Die. This die is gorgeous, and very intricate, and if you have warped cutting plates, you may need to use a shim. After cutting, I adhered the die cut piece to a dark grey panel of cardstock to make the colors pop and adhered that to a top folding card base. I then added a few Hunkydory Diamond Sparkles Gemstones (so sparkly!) to add a little bling.
For my second card, I used the Paper Rose Random Spots stencil. I blended with various color inks through the stencil using a blending brush. I used purple, orange and turquoise.
When the panel was dry, I cut it with a die from my stash that gives the look of torn edges (this could also be done by hand if you’re brave enough). I then adhered that to a turquoise cardstock panel and adhered that to a top folding card base. I cut the Paper Rose Layered Celebrate Die out of silver cardstock (twice for dimension) and die cut the shadow out of turquoise vellum. Then I added some of the Hunkydory gems.
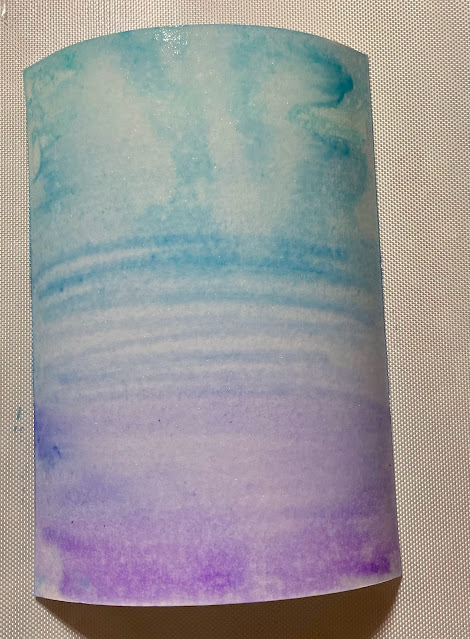
For my third card, I wanted to use both the background die and the stencil together. I began by using water based markers to create a colorful turquoise, blue, purple background on a piece of watercolor cardstock. I then used a paint brush and lots of water (I always add a sparkly iridescent liquid watercolor to my water so everything shimmers) to blend the colors together. As you can see, the paper warped, but not to worry.
I used a heat tool to dry the panel, which made it flatten out again.
I then ink blended through the stencil in random places using dark blue ink. I used purple tape to mask some areas while I was blending.
This was the panel after the ink blending. It looks like a hot mess, but that is not a concern.
I die cut the panel with the Blooming Flowers Background Die and adhered it to a Kraft cardstock base. I splattered the panel with copic opaque white, which is an opaque white ink. Acrylic paint would work just as well. I love how the panel turned out with the dots and lines from the stencil! Of course I had to add some of the Hunkydory gems.
Thank you for joining me for this last stop on the hop! Good luck on the giveaway (specifics below)!
---------------------------------------------------------------------------------------------------------------
Follow along here and if you get lost you can always start at the Topflight Stamps Blog.


