


For my first card, I smooshed water and distress inks in various pinks and oranges colors over a panel of heavystock. When the panel was dry, I die cut it using the Paper Rose Blooming Flowers Background Die. This die is gorgeous, and very intricate, and if you have warped cutting plates, you may need to use a shim. After cutting, I adhered the die cut piece to a dark grey panel of cardstock to make the colors pop and adhered that to a top folding card base. I then added a few Hunkydory Diamond Sparkles Gemstones (so sparkly!) to add a little bling.

For my second card, I used the Paper Rose Random Spots stencil. I blended with various color inks through the stencil using a blending brush. I used purple, orange and turquoise.


When the panel was dry, I cut it with a die from my stash that gives the look of torn edges (this could also be done by hand if you’re brave enough). I then adhered that to a turquoise cardstock panel and adhered that to a top folding card base. I cut the Paper Rose Layered Celebrate Die out of silver cardstock (twice for dimension) and die cut the shadow out of turquoise vellum. Then I added some of the Hunkydory gems.

For my third card, I wanted to use both the background die and the stencil together. I began by using water based markers to create a colorful turquoise, blue, purple background on a piece of watercolor cardstock. I then used a paint brush and lots of water (I always add a sparkly iridescent liquid watercolor to my water so everything shimmers) to blend the colors together. As you can see, the paper warped, but not to worry.
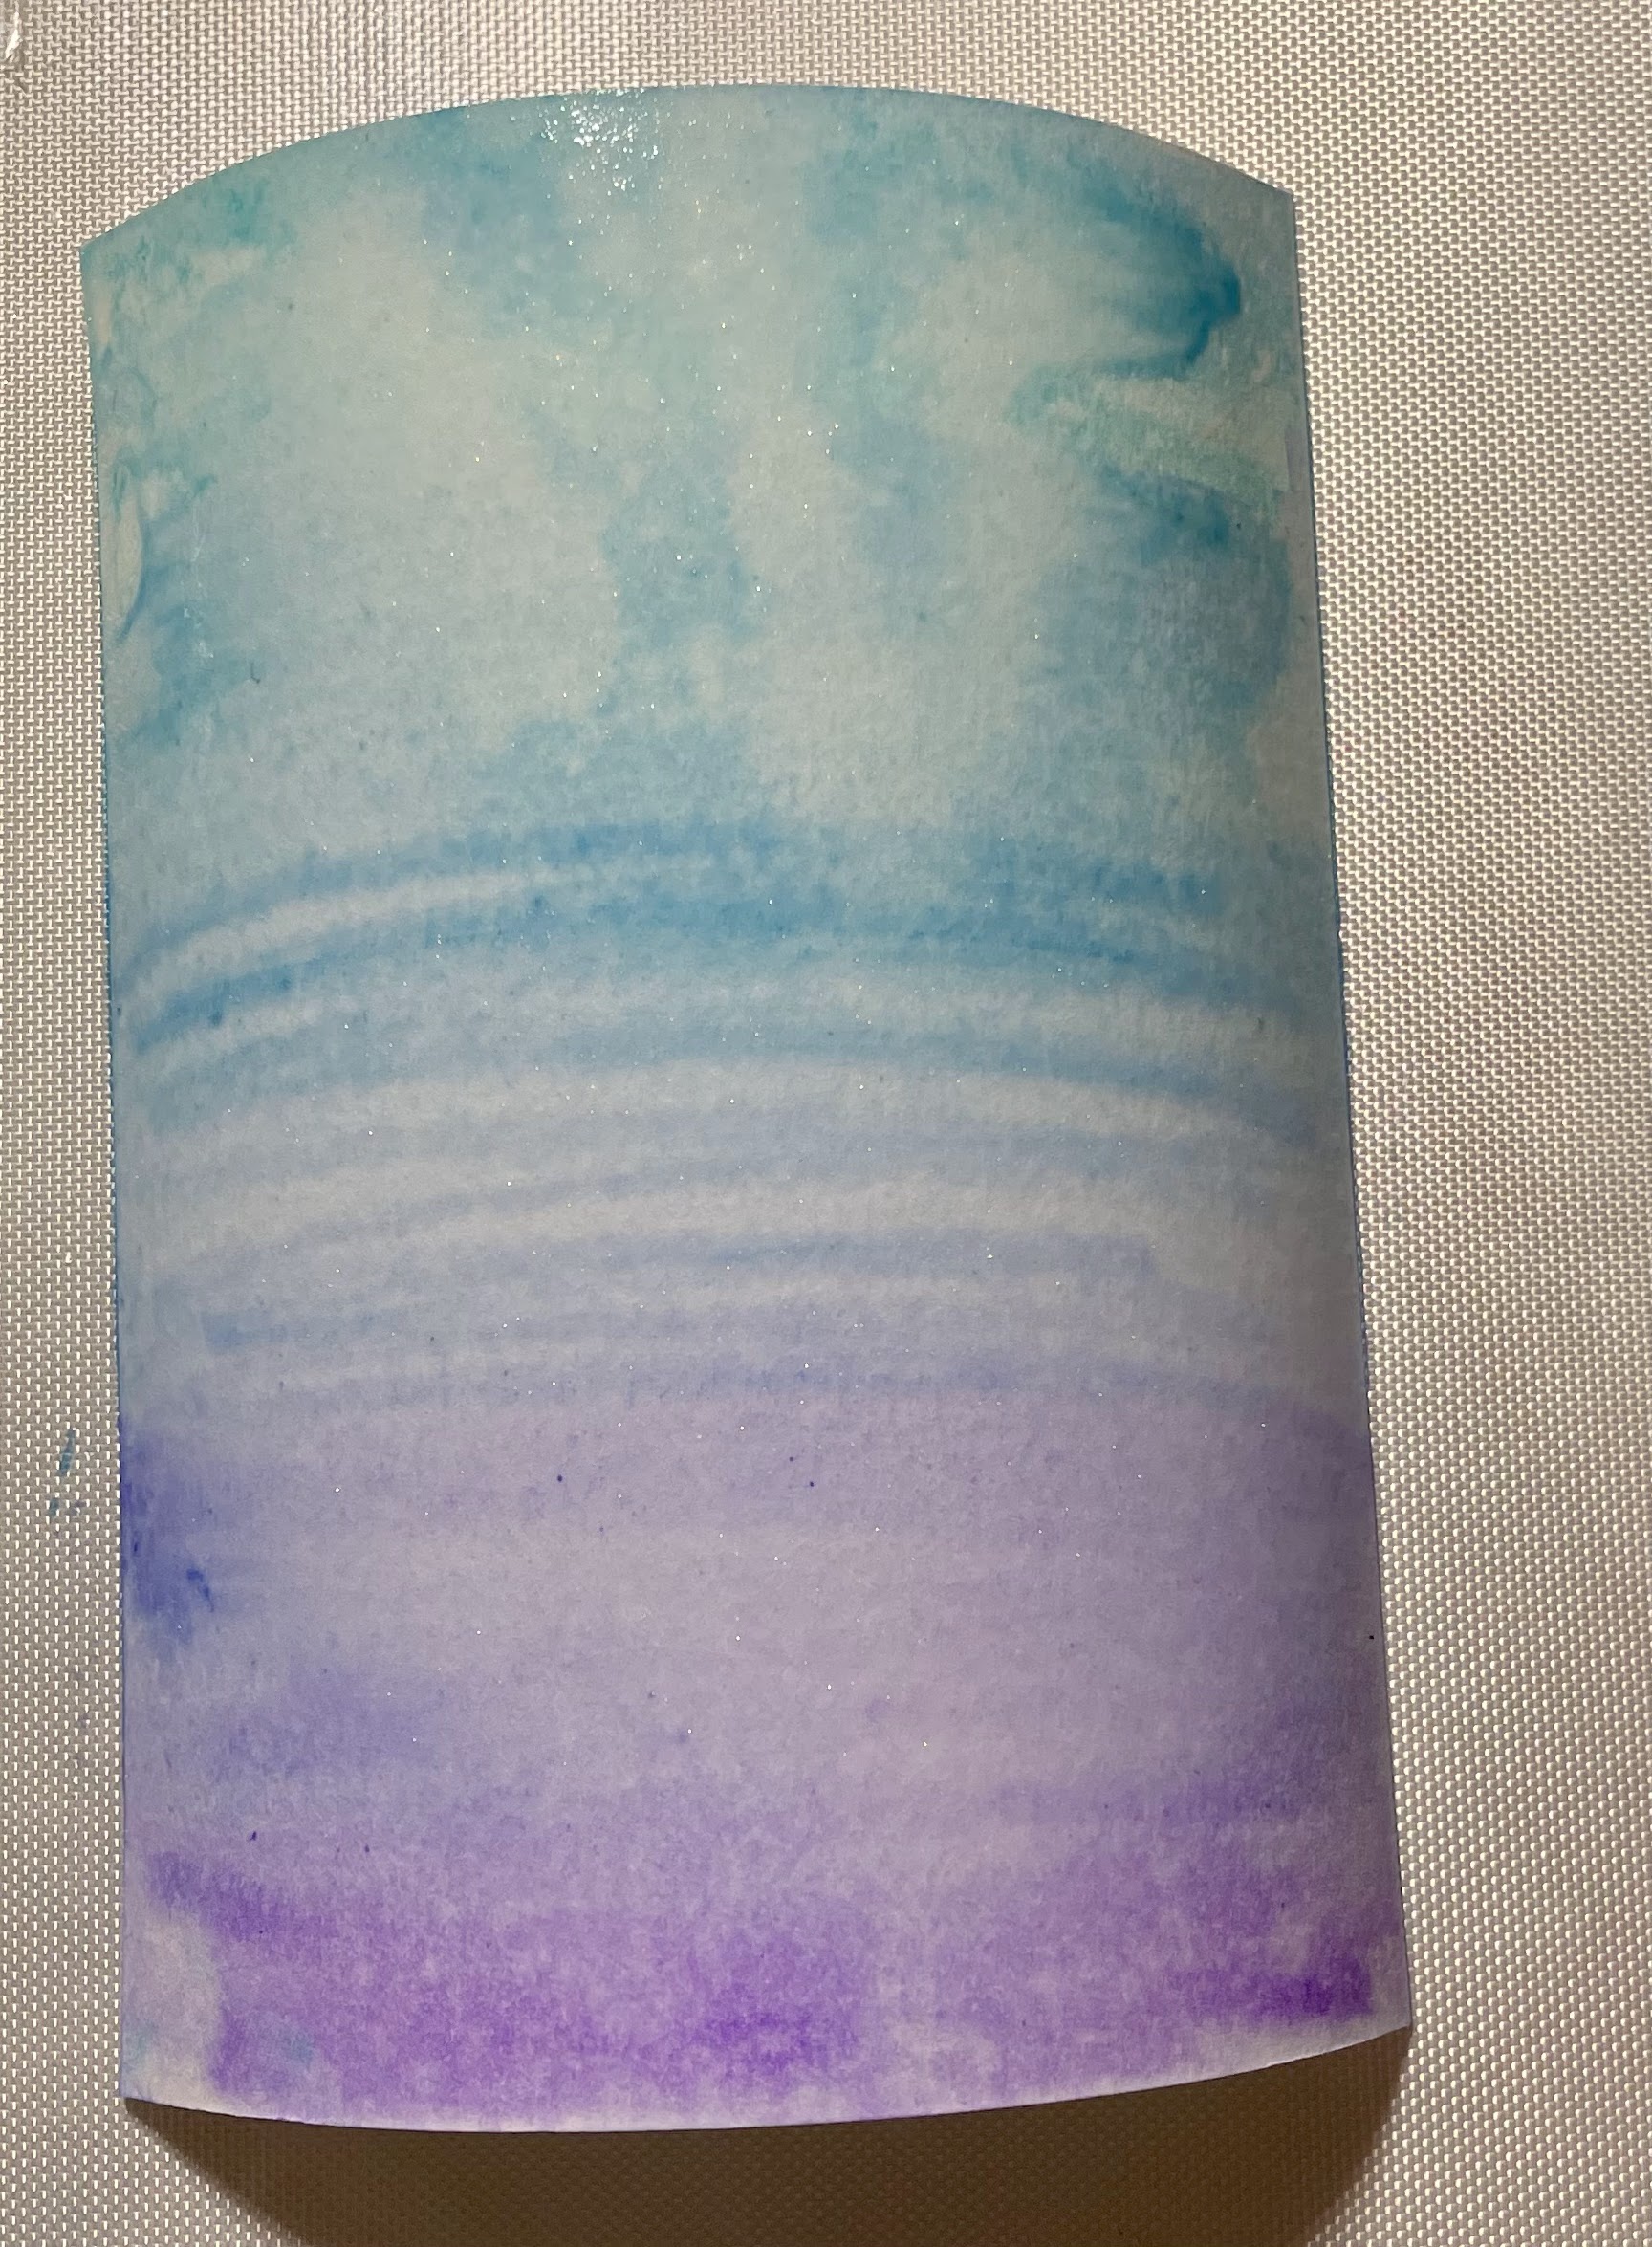
I used a heat tool to dry the panel, which made it flatten out again.

I then ink blended through the stencil in random places using dark blue ink. I used purple tape to mask some areas while I was blending.

This was the panel after the ink blending. It looks like a hot mess, but that is not a concern.

I die cut the panel with the Blooming Flowers Background Die and adhered it to a Kraft cardstock base. I splattered the panel with copic opaque white, which is an opaque white ink. Acrylic paint would work just as well. I love how the panel turned out with the dots and lines from the stencil! Of course I had to add some of the Hunkydory gems.

Thank you for joining me for this last stop on the hop! Good luck on the giveaway (specifics below)!
---------------------------------------------------------------------------------------------------------------
Follow along here and if you get lost you can always start at the Topflight Stamps Blog.
Love each of them!!! Gorgeous cards!
ReplyDeletethanks so much, Rachel!
DeleteWonderful cards with great directions. Makes me want to create my own!
ReplyDeleteThank you!!!
DeleteThank you for the inspiration,
ReplyDeleteThanks for stopping by, Maria!
DeleteI love the cards and the techniques!
ReplyDeleteThanks so much!
DeleteI love the cards and the techniques.
ReplyDeleteFantastic cards, thanks for all the details- time to get crafty!
ReplyDeleteThank you, Stephanie!
DeleteBeautiful cards
ReplyDeletethanks so much!
DeleteGorgeous die cut - love that one! They have such beautiful products.
ReplyDeleteYes, they do have beautiful products!
Deleteawesome cards - love the different techniques you used:)
ReplyDeleteThanks so much, Dee!
DeleteThanks for sharing all the pretty techniques--always love cards utilizing the kraft cardstock!
ReplyDeleteThanks so much for stopping by!
Deletebeautiful cards, love the embellishments!
ReplyDeleteThanks so much, Barbara!
DeleteBeautiful cards!!
ReplyDeleteThanks so much!
DeleteYour cards are really beautiful. I love the colors you chose.
ReplyDeleteThanks so much for the concise instructions and step-out photos.
It's been a pleasure to be part of a blog hop with you!
Thanks, Kathi! Nice hopping with you too!
DeleteI absolutely love that Paper rose cover die. I'm going to look for it at Top Flight. thanks!
ReplyDeleteSo glad you like it! Thanks so much for stopping by!
DeleteThree pretty cards to celebrate Topflights birthday! Love them!
ReplyDeleteThanks so much Esther!
DeleteBeautiful ways to display these stamps on your cards.
ReplyDeleteThanks so much, Brebda!
DeleteThanks for showcasing the PR die. Beautiful!!! The cards are beautiful. Beautiful work!!!
ReplyDeleteThank you so much, Connie!
DeleteGreat card and I love all the beautiful colors. Love this die!
ReplyDeleteThank you, Ericka!
DeleteLovely cards. The flower cardfront creates a great card so easily. Love the stencilled card & the colors you used.
ReplyDeleteThanks so much. I appreciate your kindness.
DeleteFabulous cards. The die is truly amazing, and the colors you chose made it pop. I especially like the card in the middle with all the colors through the stencil.
ReplyDeleteThanks so much, Annie.
DeleteI love the stencil and background die you used! Beautiful cards!
ReplyDeleteThank you, Denise!
DeleteBeautiful cards! I love the colors.
ReplyDeleteLove the die cut and how it looks completely different when you change colors and the pattern of the background that you cut it from. Very nicely done!
ReplyDeleteThanks so much!
DeleteYour art is FUN and inspiring, and Top Flight Stamps has so many great stamps. You really know how to inspire.
ReplyDeleteThank you so much!
DeleteWOW!!! These are so much fun to look at...and your directions are easy to follow. Thanks for sharing!
ReplyDeleteHAPPY BIRTHDAY TO TOP FLIGHT STAMPS!!
Thank you!
DeleteI like your choice of colors on these pretty cards.
ReplyDeleteThanks so much!
DeleteI love that Die and all three cards are so pretty and creative.
ReplyDeletethanks so much!
DeleteSo lovely! The colours look amazing!
ReplyDeleteThank you!
Deletethese colors together are so soothing... lovely designs..
ReplyDeleteThank you!
DeleteWow! Stunning cards and I love that paper rose die!!
ReplyDeleteThanks so much!
DeleteAwesome cards Angela! Thank you so much for being one of our Hop designers. =)
ReplyDeleteThank you, Lisa!
DeleteWOW! Just beautiful!
ReplyDeleteThanks so much, Natasha!
DeleteThanks for sharing these three lovely card designs, the floral panels are so pretty!
ReplyDeleteThank you, Andre!
Delete